Install Your First Agent
Now that you have used Dexto to build your own agent, let's explore some of the in-built agents that come with Dexto.
- CLI
- WebUI
1. List available Agents
Dexto comes shipped with in-built agents for common use-cases.
Use the agents list command to list the in-built agents.
dexto agents list
You will see many different agents. Some of the available agents are:
- Nano Banana Agent – Advanced image generation and editing using Google's Nano Banana (Gemini 2.5 Flash Image)
- Podcast Agent – Advanced podcast generation using Google Gemini TTS for multi-speaker audio content
- Coding Agent – Expert software development assistant with comprehensive coding tools
- Sora Video Agent – AI video generation using OpenAI's Sora technology
- Database Agent – Demo agent for SQL queries and database operations
- Image Editor Agent – Image editing and manipulation
- Music Agent – Music creation and audio processing
- Talk2PDF Agent – Document analysis and conversation
- GitHub Agent – GitHub operations, PR analysis, and repository management
- Product Researcher – Product naming and branding research
- Triage Agent – Demo multi-agent customer support routing system
Each agent is pre-configured with the right tools, prompts, and LLM settings for its domain.
No setup required — just install and start using them.
📚 See the full Agent Registry for detailed information about all available agents, their capabilities, and use cases.
2. Install a new agent
dexto agents install music-agent
This will install the music-agent with your preferred LLM you chose during setup, and you can immediately start running it!
dexto agents list
This command will verify that the agent was installed successfully.
3. Run the installed agent
dexto --agent music-agent
This opens the Web UI (the default) where you can interact with your newly installed music agent!
Prefer terminal-based interaction? Use dexto --agent music-agent --mode cli to run in CLI mode, where you can use slash commands like /tools to list available tools.
Check out Music Agent Demo and Tutorial for a full tutorial of how to use this agent.
4. Uninstall the agent
dexto agents uninstall music-agent
This command uninstalls the agent.
dexto agents list
Verify the music-agent was successfully uninstalled.
5. Reinstall the agent with in-built LLM settings
dexto agents install music-agent --no-inject-preferences
The first time when you installed music-agent, Dexto automatically injected your preferred LLM you configured during setup to be the LLM for this agent.
To avoid this and use the default LLM shipped for the music-agent, use the --no-inject-preferences argument while installing the agent.
This is preferable for certain agents that work better with or require pre-set LLMs, such as the nano-banana agent, which requires gemini.
Now let's rerun the agents list command to see the installed agents.
dexto agents list
You will now see that the music-agent has a different LLM configuration (the default one, as opposed to your preferred one)
In case you install an agent incorrectly, or want to use the default LLM config, you can always uninstall and reinstall agents.
6. Use the dexto which command to find the path to your agent file
dexto which music-agent
This command will show you the path to the installed music-agent so you can edit it directly if you are comfortable!
7. Update the music-agent to be your default agent
Open the dexto preferences file:
vi ~/.dexto/preferences.yml
Update the defaultAgent from coding-agent to music-agent
Before:
defaults:
  defaultAgent: coding-agent
After:
defaults:
  defaultAgent: music-agent
Now re-start dexto without any arguments
dexto
This opens the Web UI with your new default agent. Ask it "Who are you?", and you will see that instead of the coding-agent, dexto is now using the music-agent!
Similarly, if you want to change the default to any other agent, just update defaultAgent to any valid agent-name!
8. Run a new agent directly without install
dexto -a database-agent
If you don't run the install command first, Dexto will automatically install the agent with your preferred LLM and open the Web UI for you to start chatting!
You can now interact with the database agent in the Web UI, or close it and re-run the list-agents command to verify that the database-agent was installed.
Use --no-auto-install with dexto to disable the automatic install behavior.
1. View Available Agents
First, start the Dexto Web UI:
dexto --mode web
Click on the Agent Selector button (with the sparkle icon) at the top of the page to see all available agents.
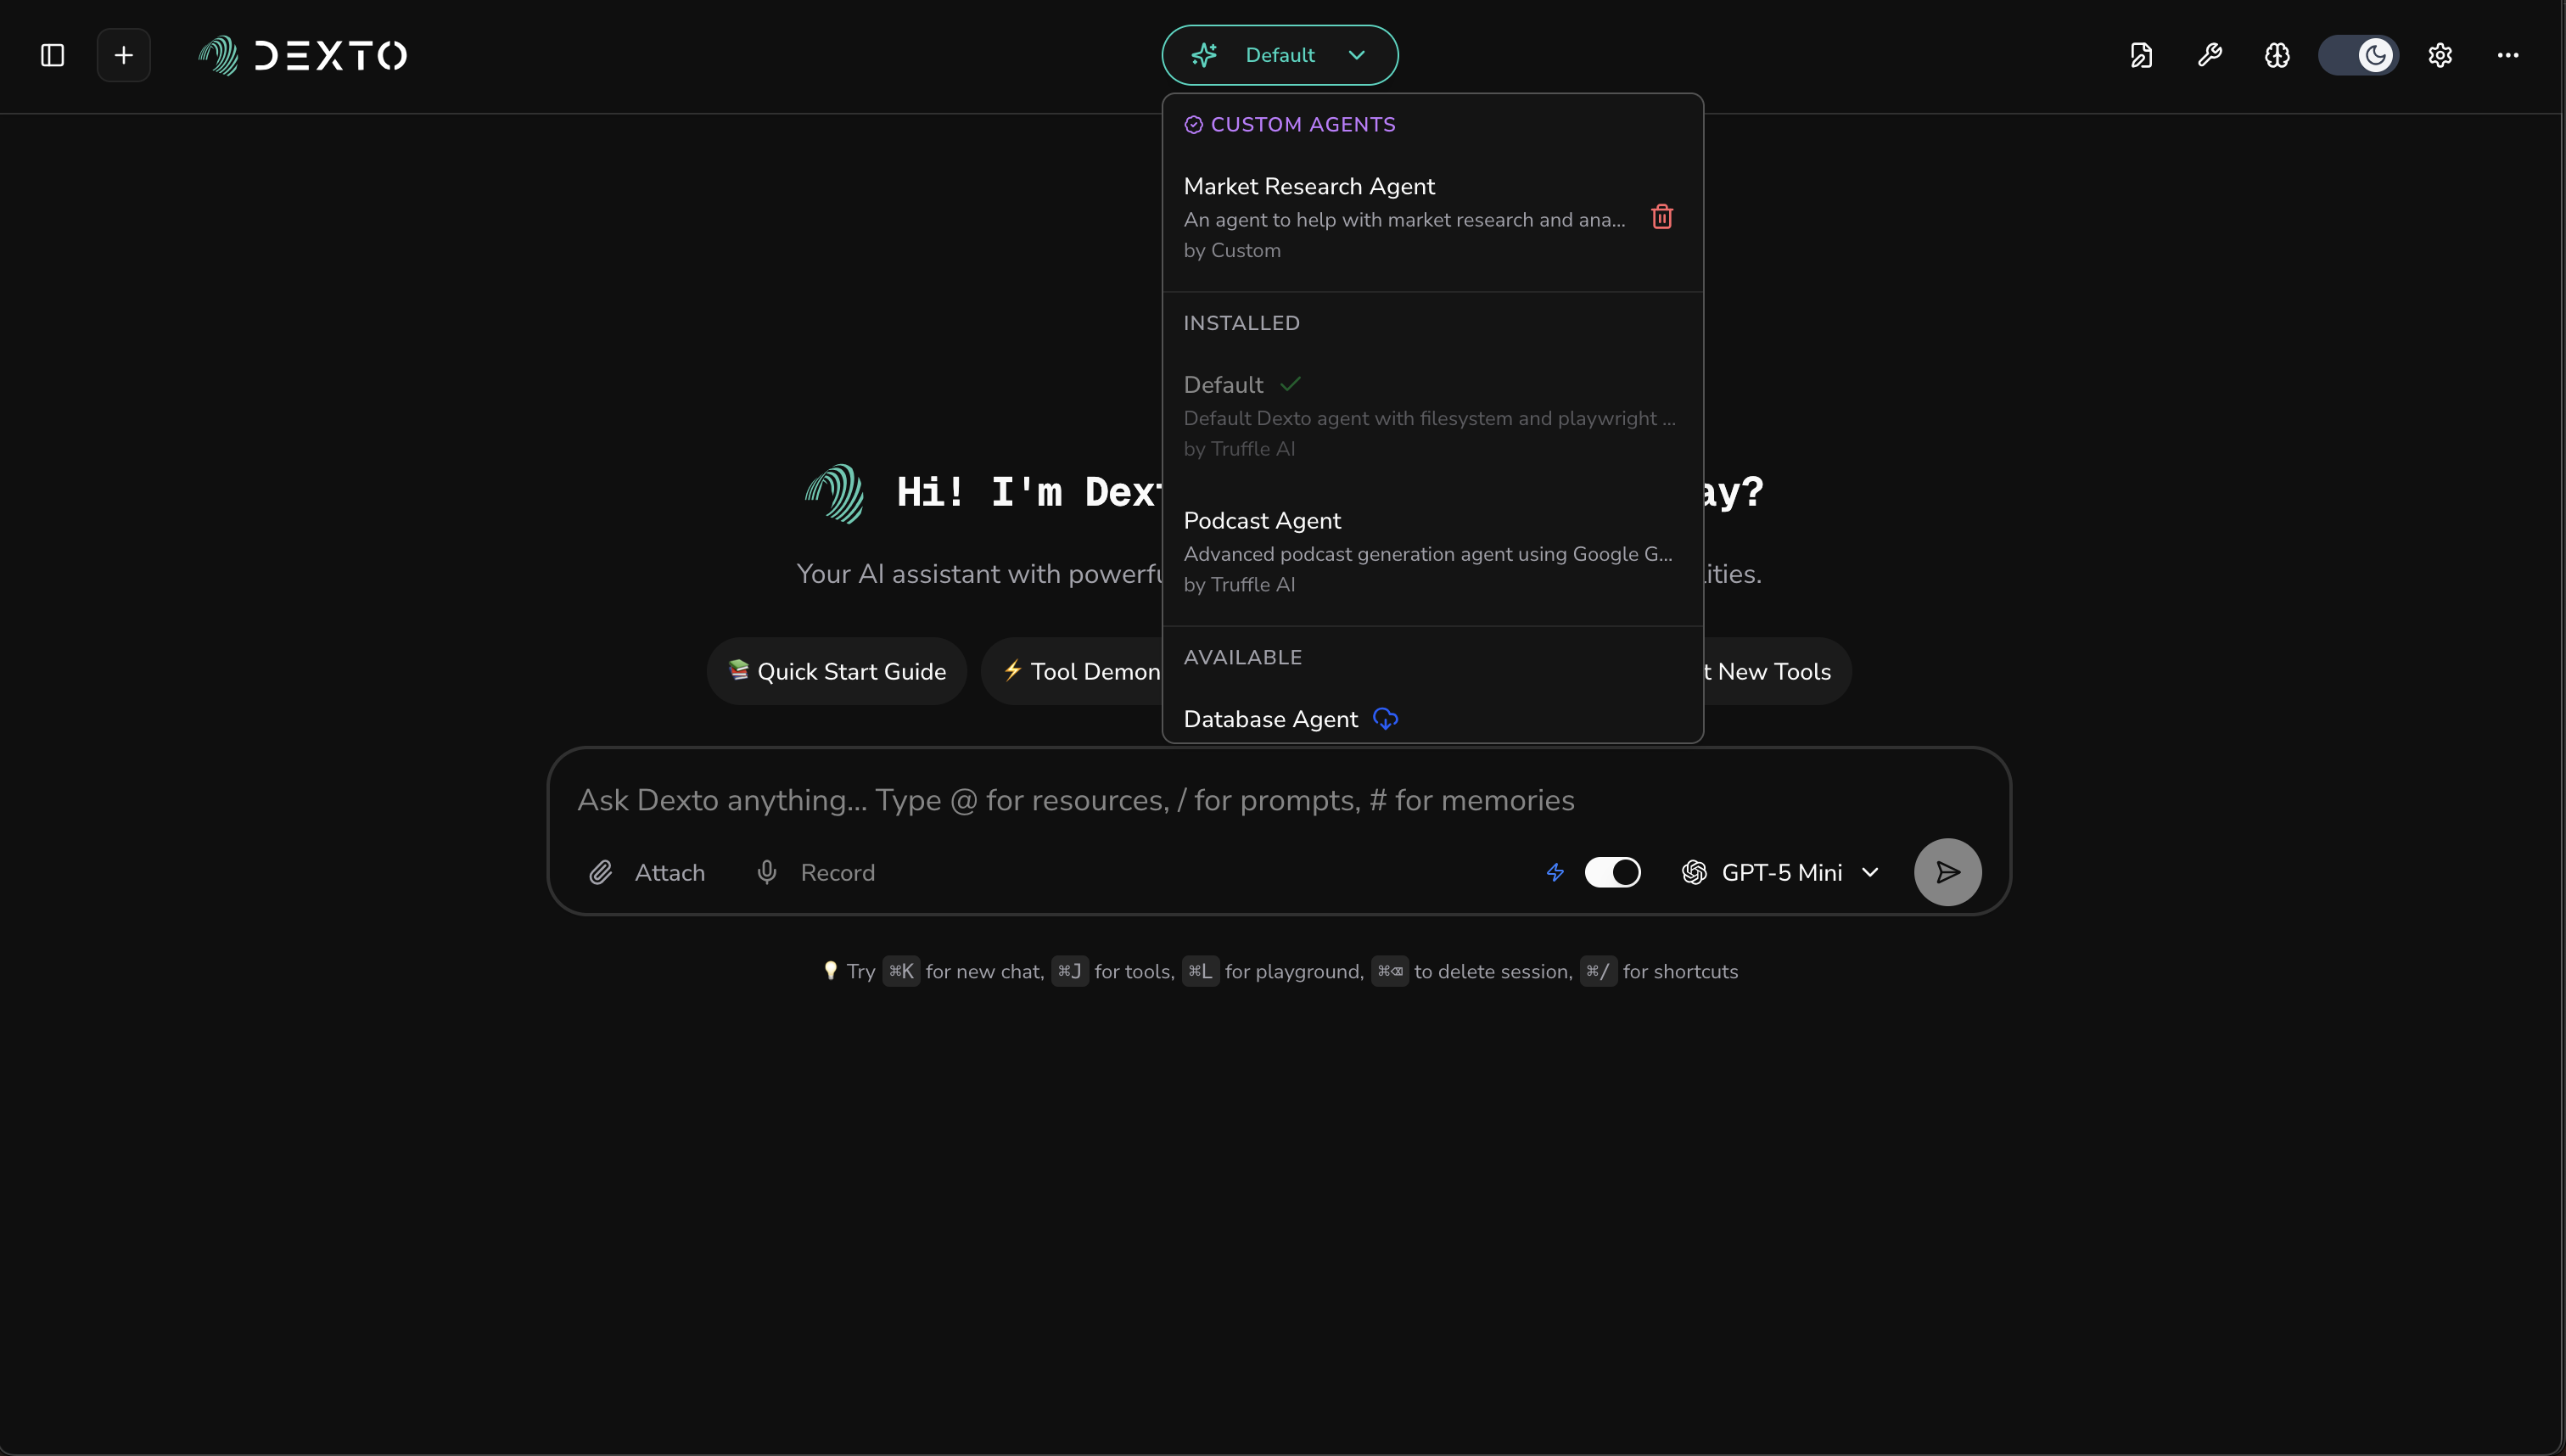
The dropdown organizes agents into sections:
- Custom Agents – Your personally created agents (with trash icon to delete)
- Installed – Built-in agents you've already installed
- Available – Built-in agents ready to install (with download icon)
📚 See the full Agent Registry for detailed information about all available agents, their capabilities, and use cases.
2. Install an Available Agent
Scroll to the Available section and find an agent you want to try, like Music Agent.
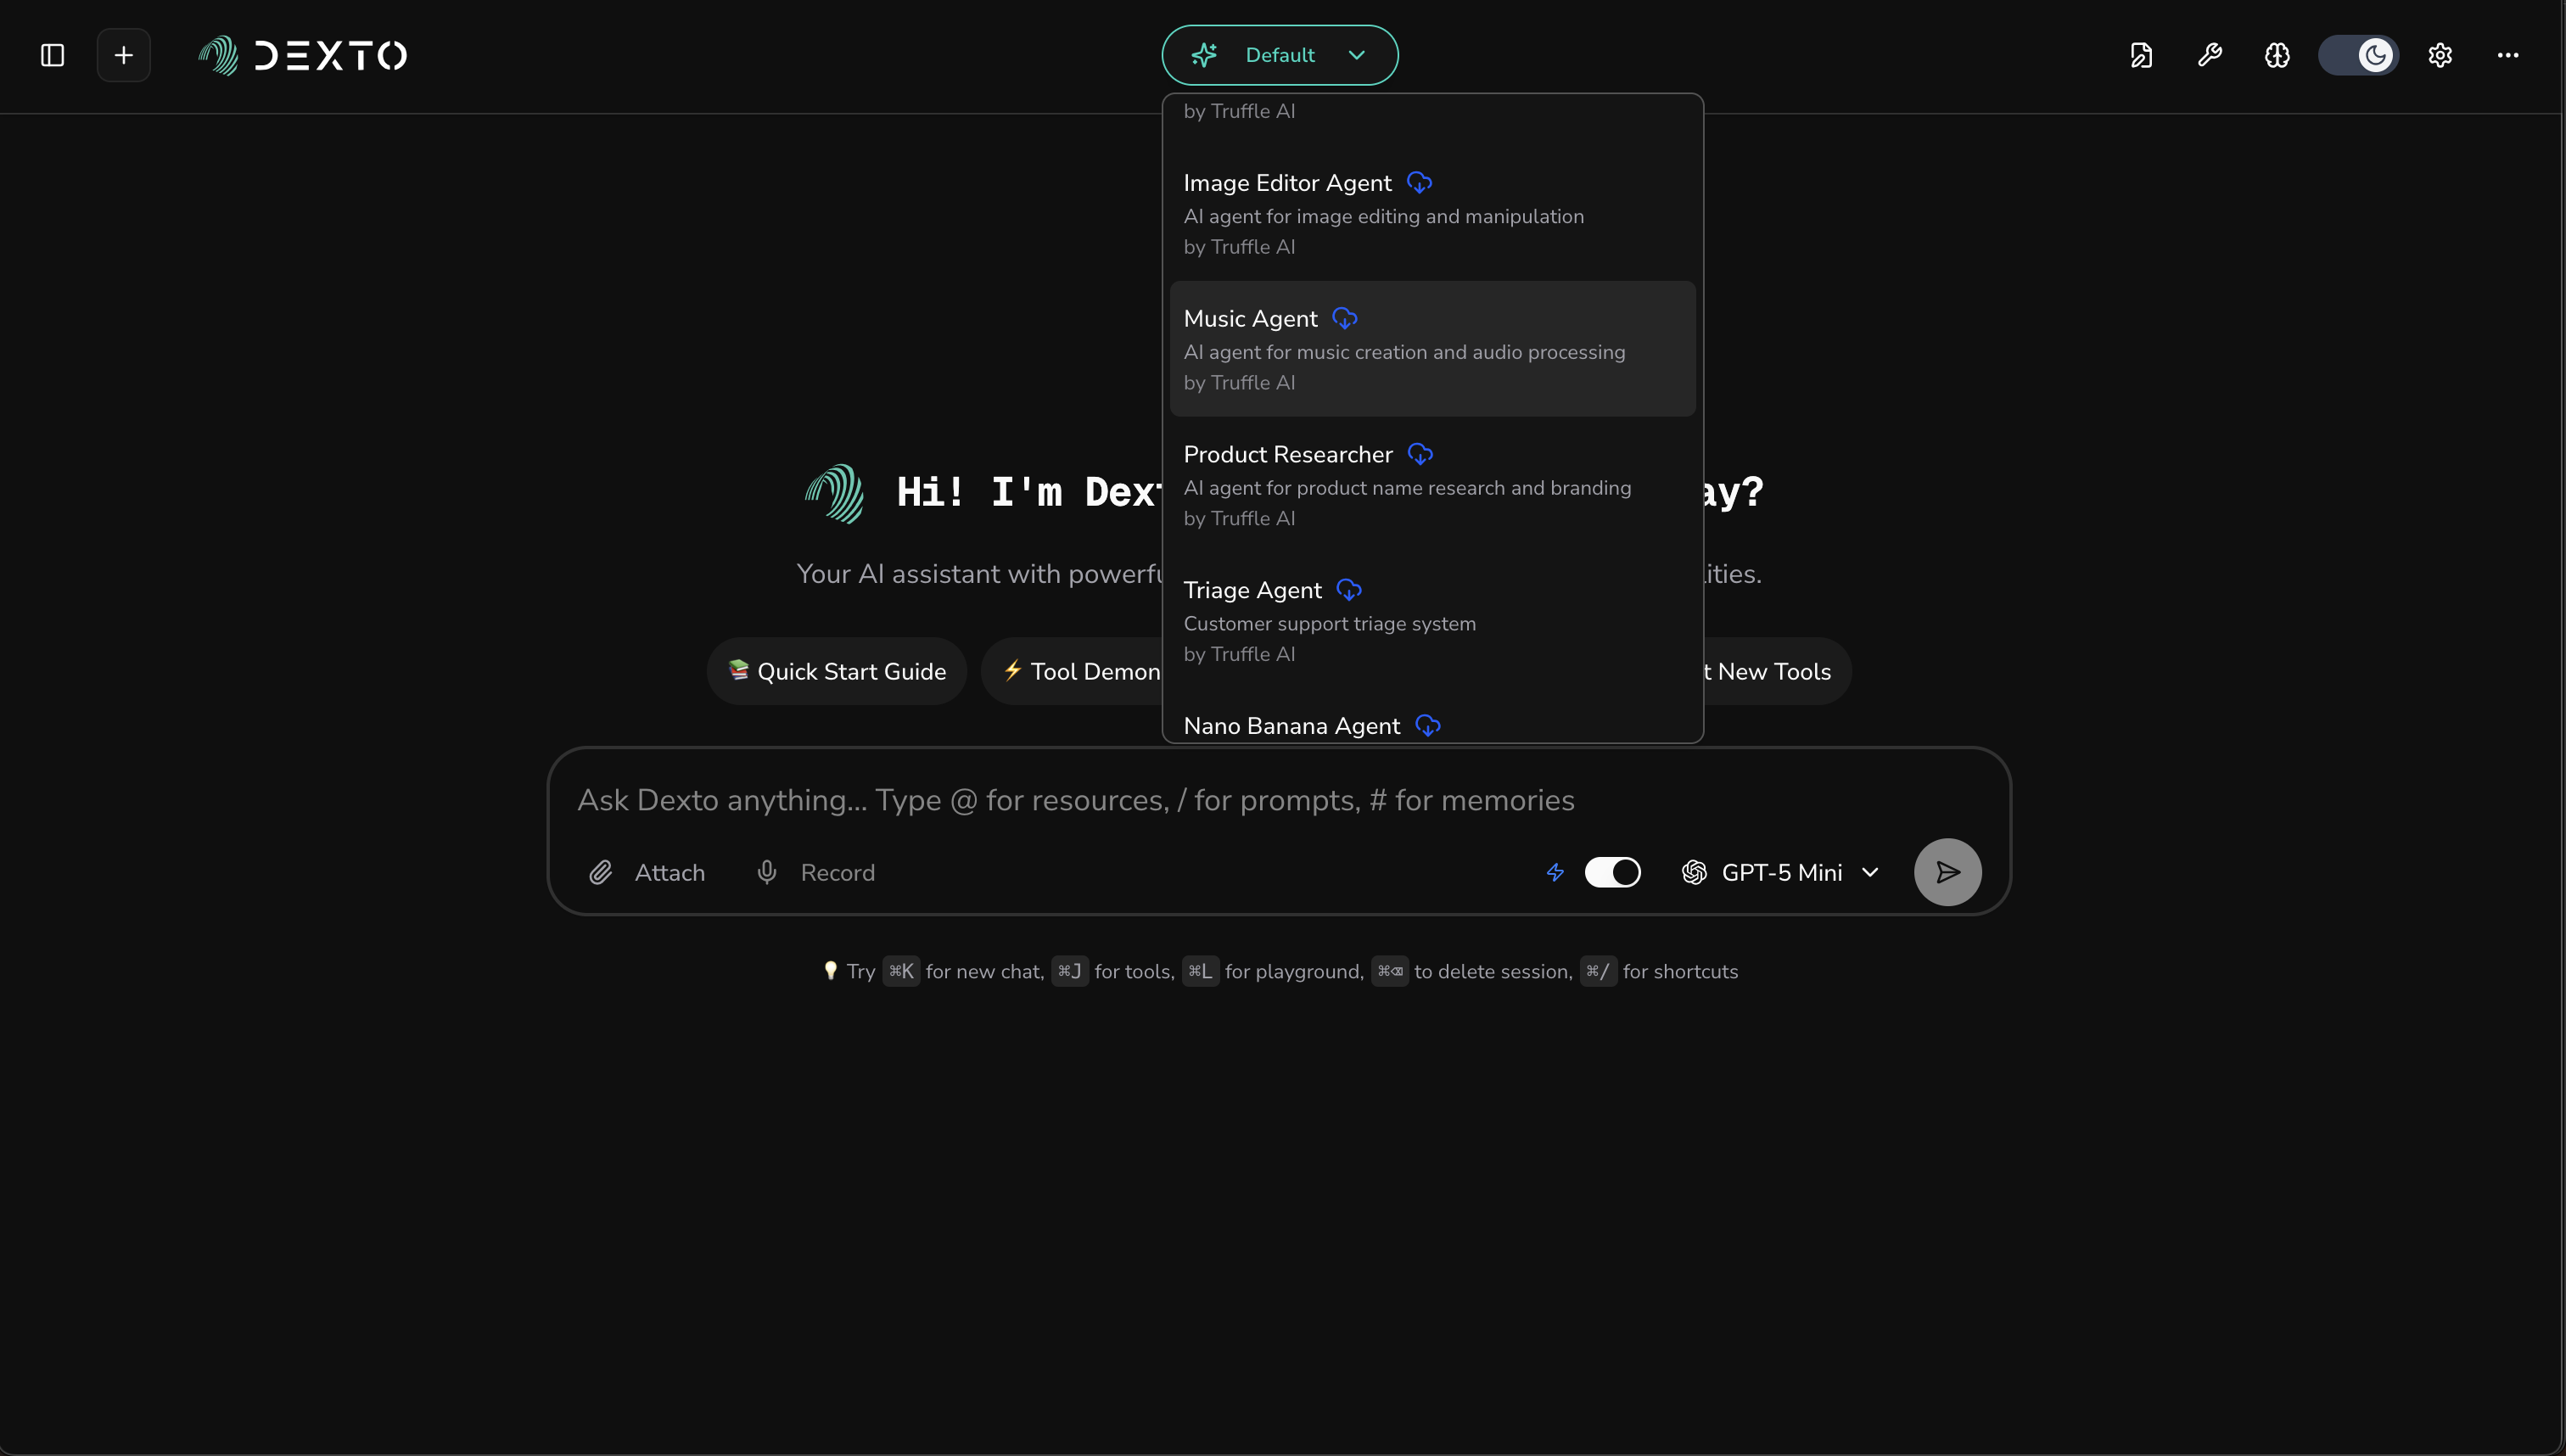
Click on the agent with the download icon. It will be installed automatically with your preferred LLM.
3. Switch to the Installed Agent
After installation, you need to open the Agent Selector again. The agent will now appear in the Installed section.
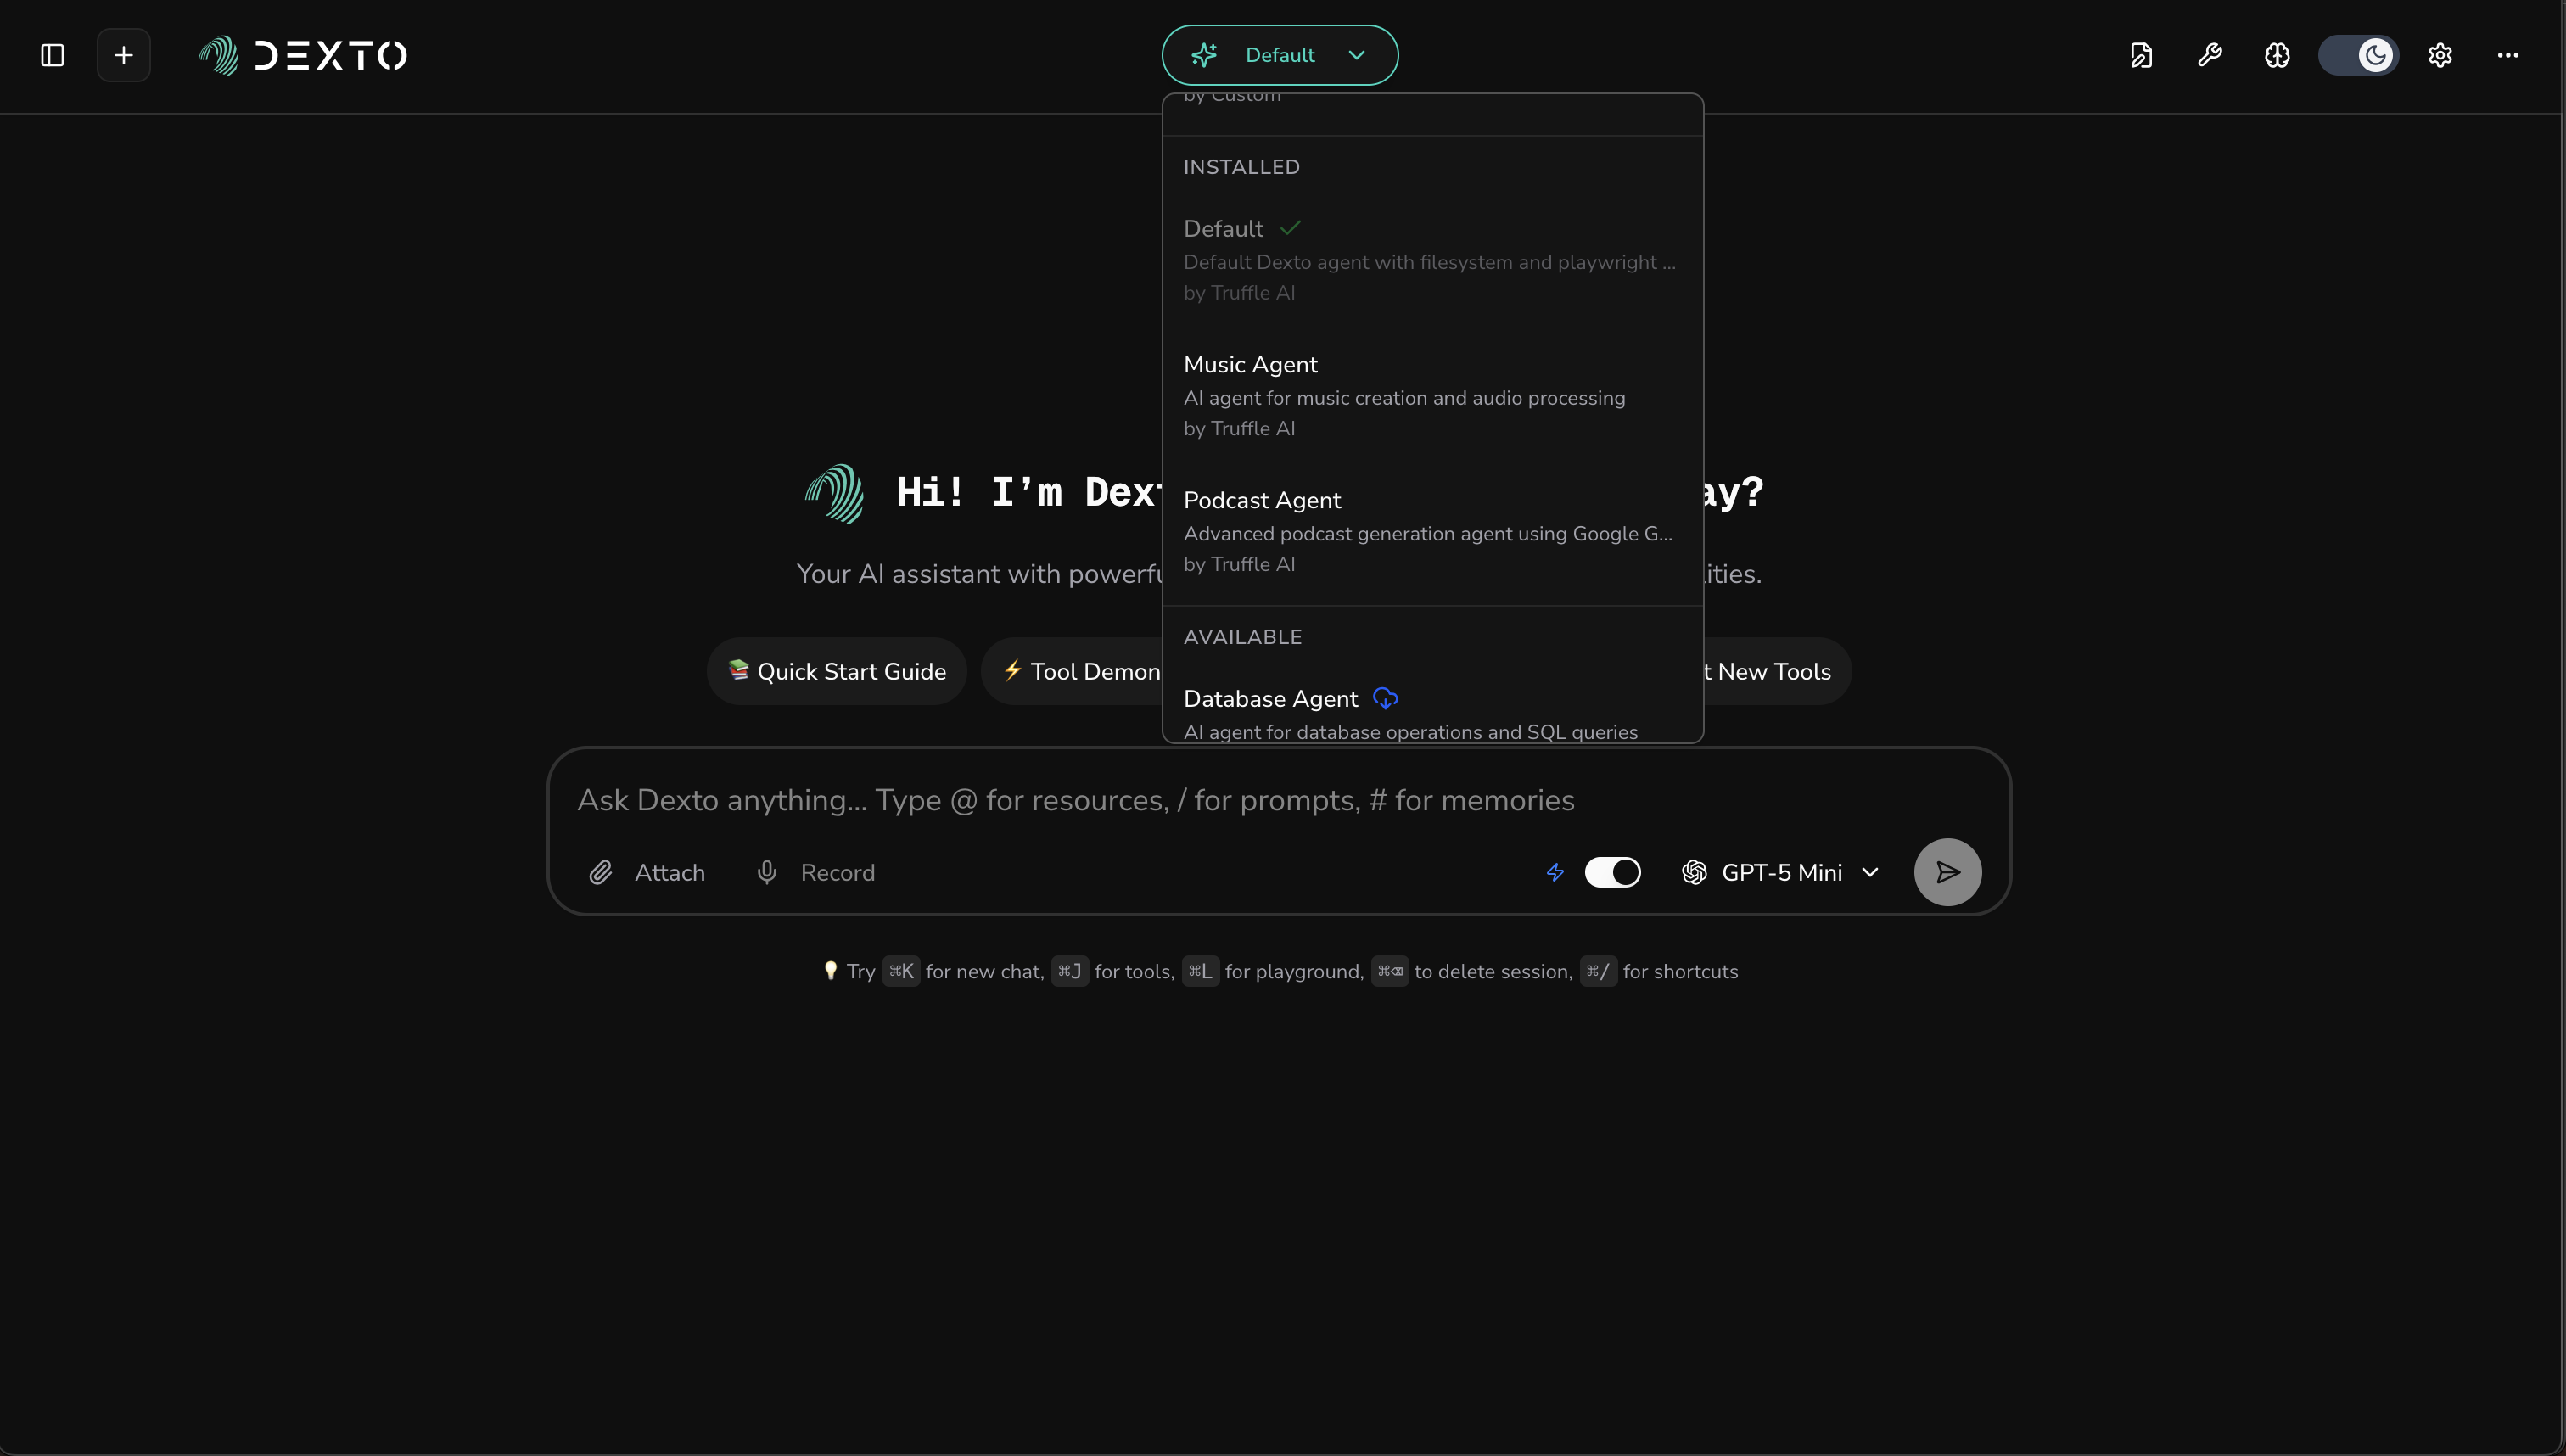
Click on Music Agent to switch to it.
4. Use Your Agent
You're now talking to the Music Agent! The Agent Selector button at the top shows which agent is currently active.
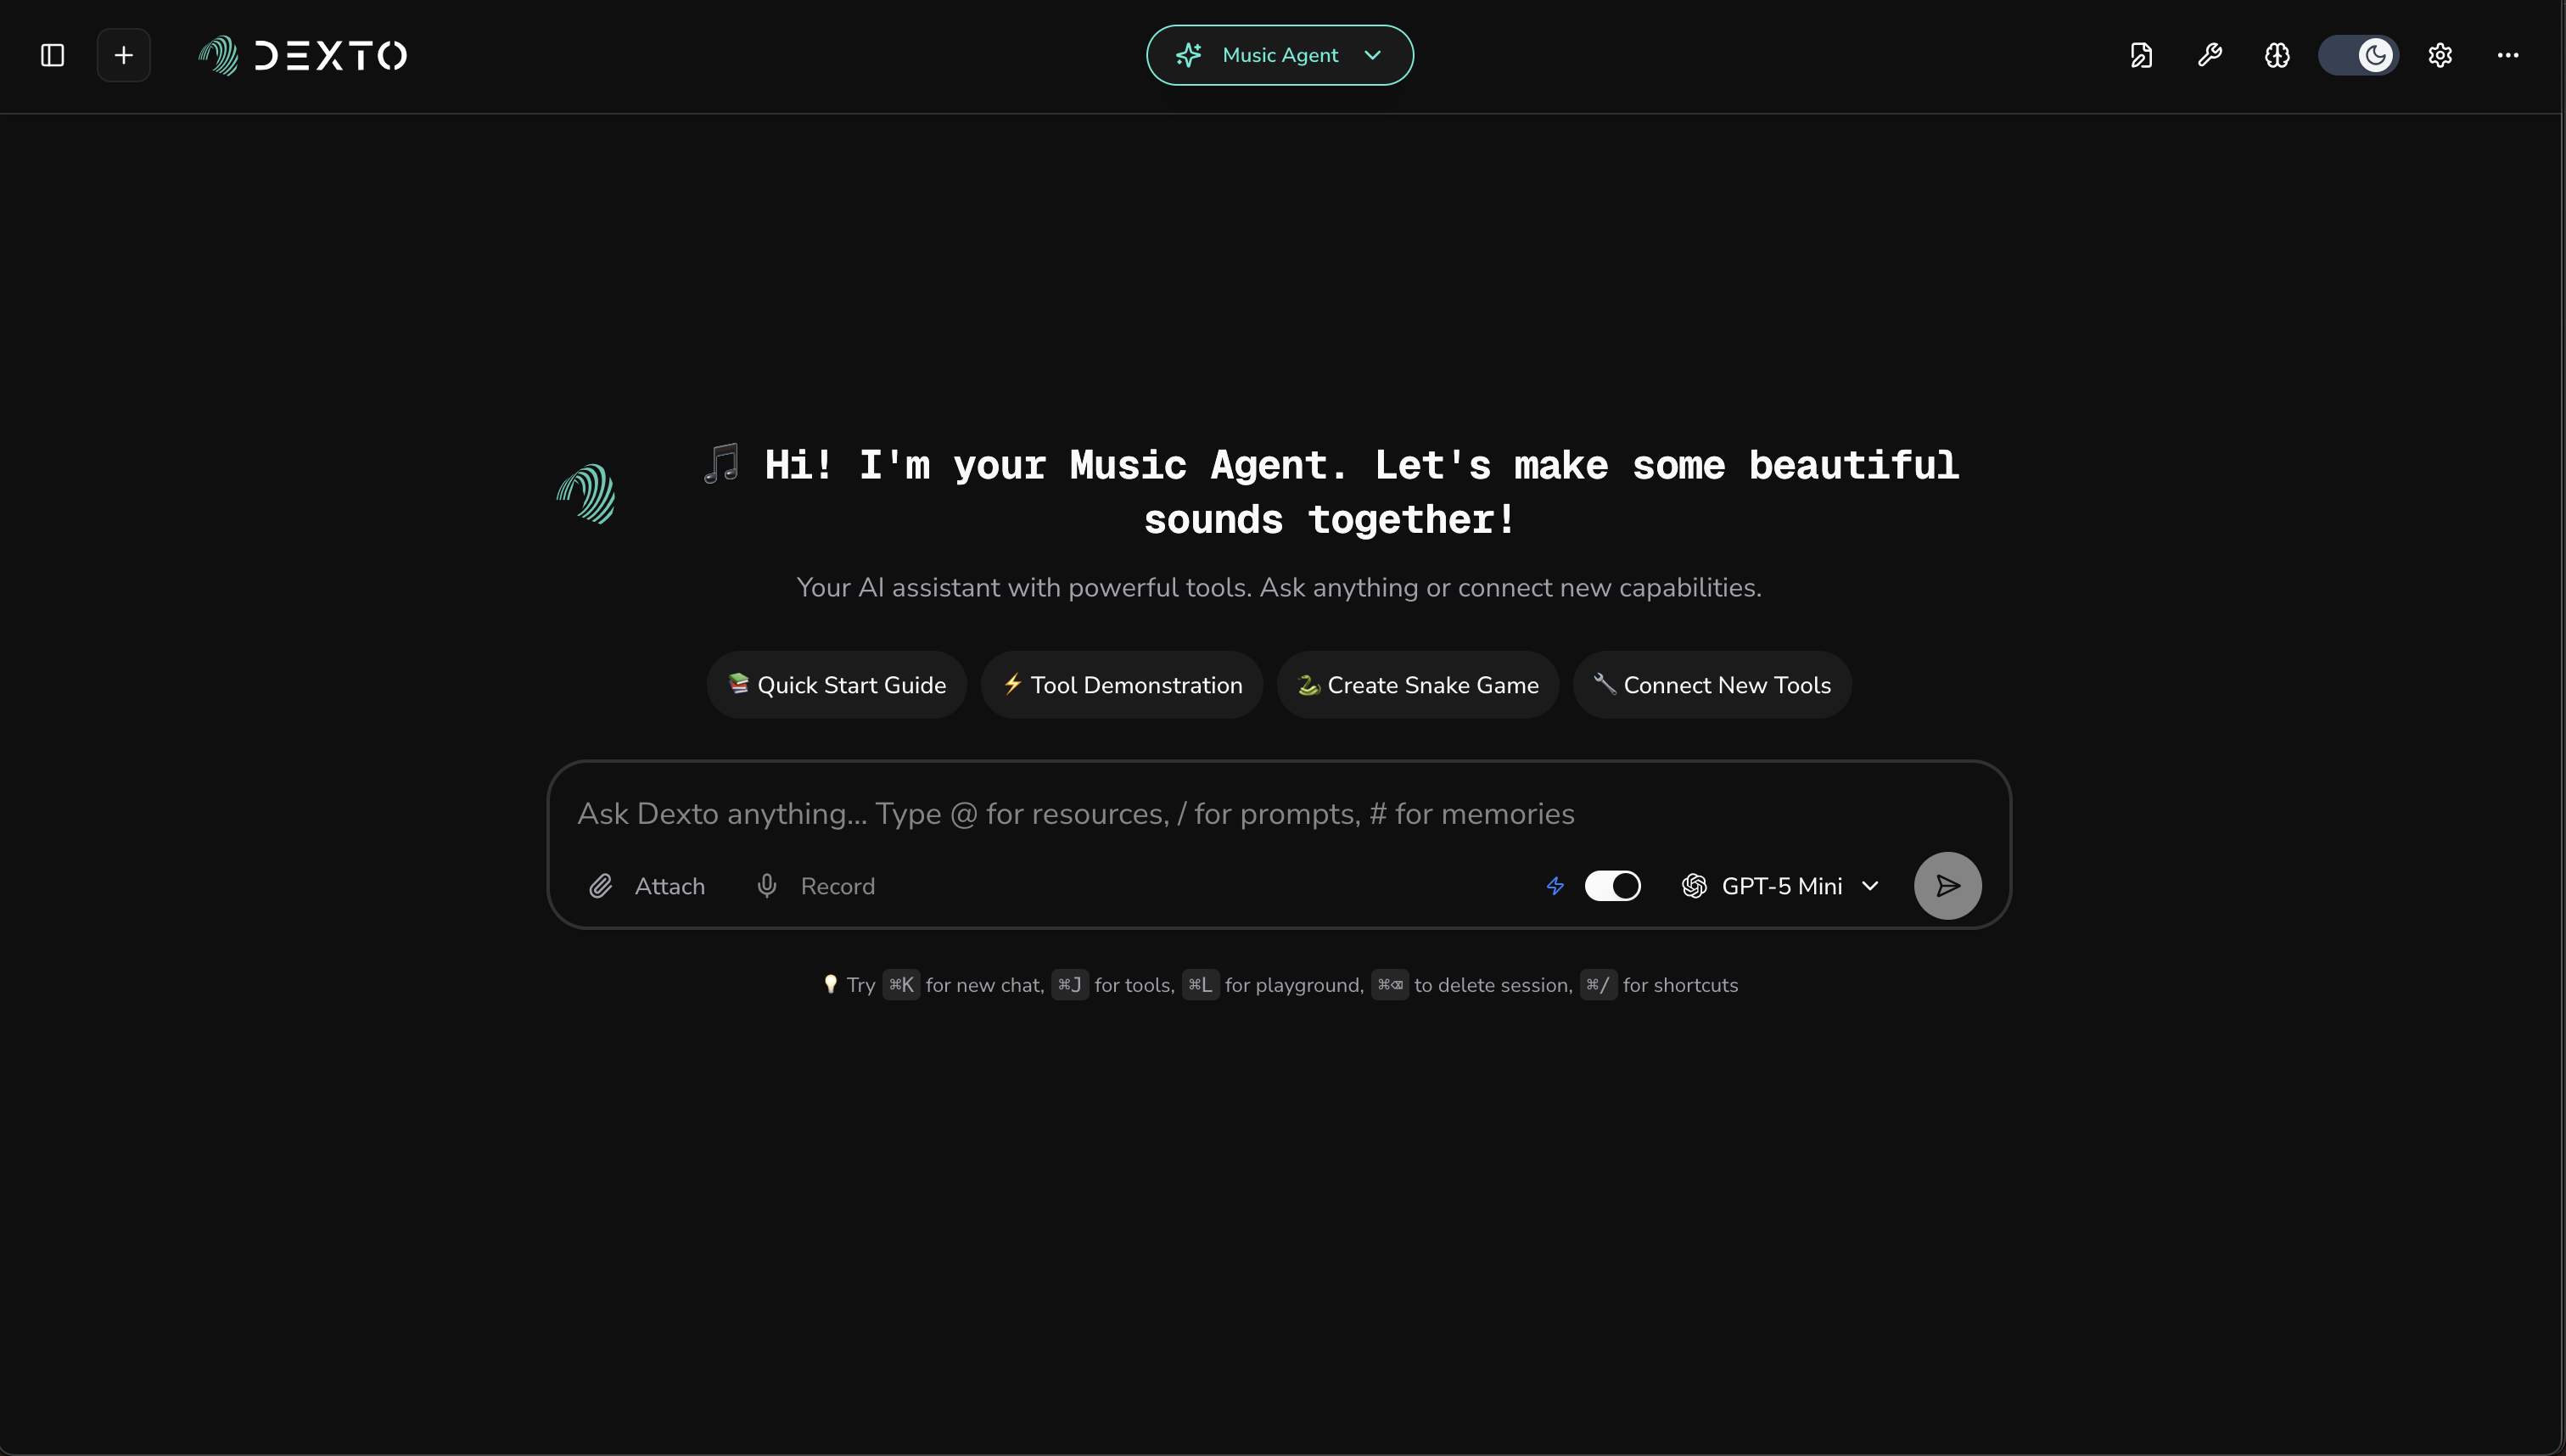
You can start chatting with the music agent immediately. Try asking it about music creation or audio processing.
Check out Music Agent Demo and Tutorial for a full tutorial of how to use this agent.
5. Delete Custom Agents
To delete a custom agent you created, open the Agent Selector dropdown and find it under Custom Agents. Click the trash icon next to it to delete.
Built-in agents (from the Installed or Available sections) cannot be deleted through the UI.
Congratulations!
You've just installed your first pre-built AI agent with Dexto!
- CLI
- WebUI
You've learned how to:
- ✅ List available agents in dexto with the
dexto agents listcommand - ✅ Install agents with the
dexto agents installcommand - ✅ Uninstall agents with the
dexto agents uninstallcommand - ✅ Use the
--no-inject-preferencesargument withdexto agents installcommand to use default LLM preferences - ✅ Find the file path to installed agents with the
dexto whichcommand - ✅ Set any agent as your preferred default agent in
dexto - ✅ Automatically install and run an agent with
dexto -a <agent_name>
You've learned how to:
- ✅ View available agents using the Agent Selector dropdown
- ✅ Understand the different agent sections (Custom, Installed, Available)
- ✅ Install agents by clicking on them in the Available section
- ✅ Switch between installed agents
- ✅ Delete custom agents using the trash icon
You are now ready to explore other in-built agents like the podcast agent, triage agent, database agent, and more!
Next Steps: Explore adding more tools or building multi-agent systems.